Using the Paste Special command
You've got a good feel for the Excel interface, and have gotten some practice using familiar functions like Copy and Paste to manipulate, move, and duplicate data on your spreadsheets. But if you've been using these features for a while, you may have bumped into a common problem that you can't quite figure out how to solve: when copying and pasting cells, everything about the cell is copied and pasted — not just the value of the cell, but also its format. And, if you copy and paste a cell that contains a formula, the formula itself will be duplicated rather than the value that formula outputs. This can often be helpful, but sometimes it doesn't produce the intended result due to relative cell references. Sometimes, you just want to copy and paste the values of cells without bringing along anything else!
That's where the
Let's take a look at Paste Special to get a feel for how we can use it in practice.
Pasting values
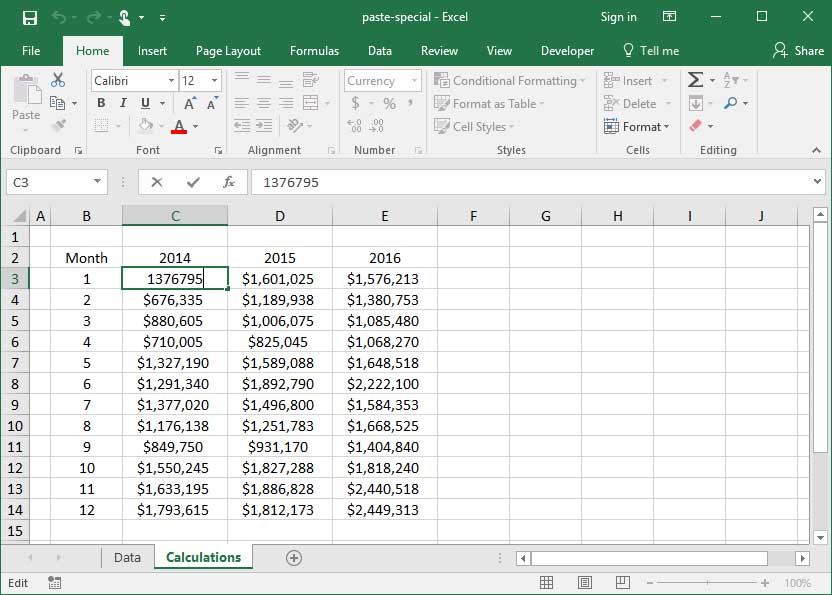
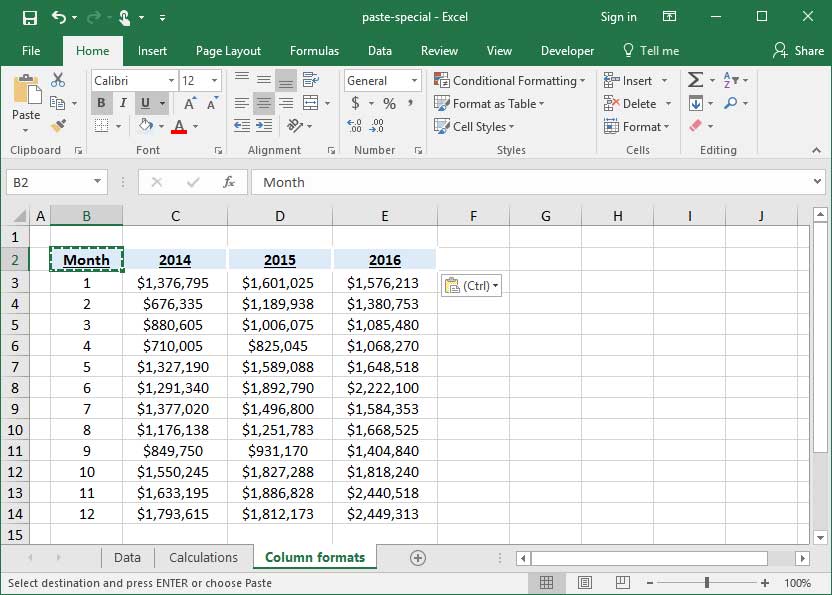
Let's say we've got a spreadsheet of calculations created for our manager, who has asked for a list of SnackWorld sales numbers by month:
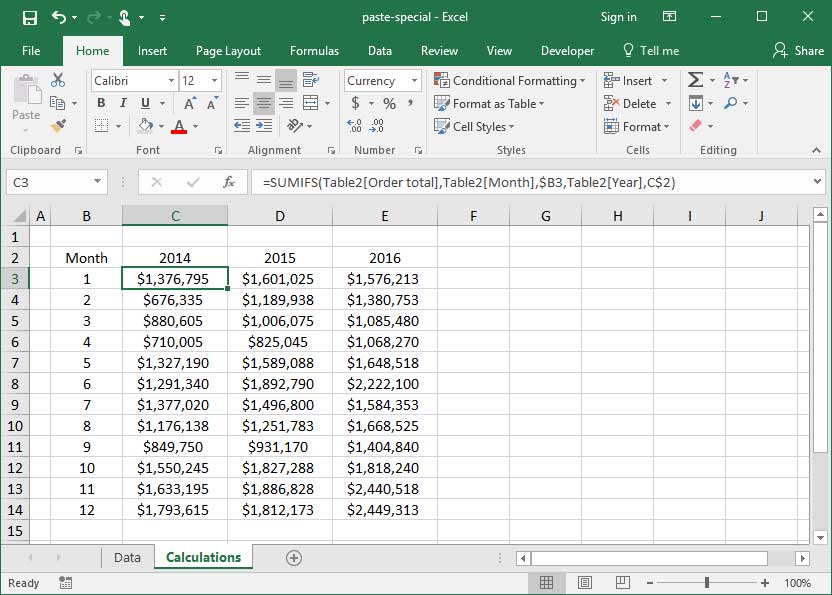
We've used a series of complicated formulas to calculate these values based off of an external data table, and now we want to send our output to our manager. But, we don't want to send those complicated formulas — our manager just wants to see our final numbers, not unnecessary information on how we got there.
To solve this problem, we'll copy the entire range, then paste it as values in the same place from which we copied it. Let's start by copying our range:
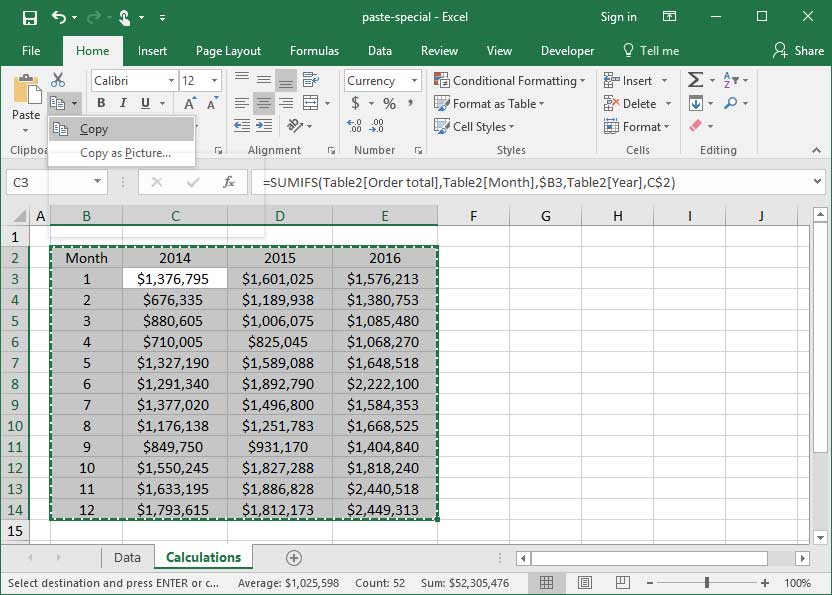
Then, we'll head to the Paste Special menu on the Home section of the Ribbon.
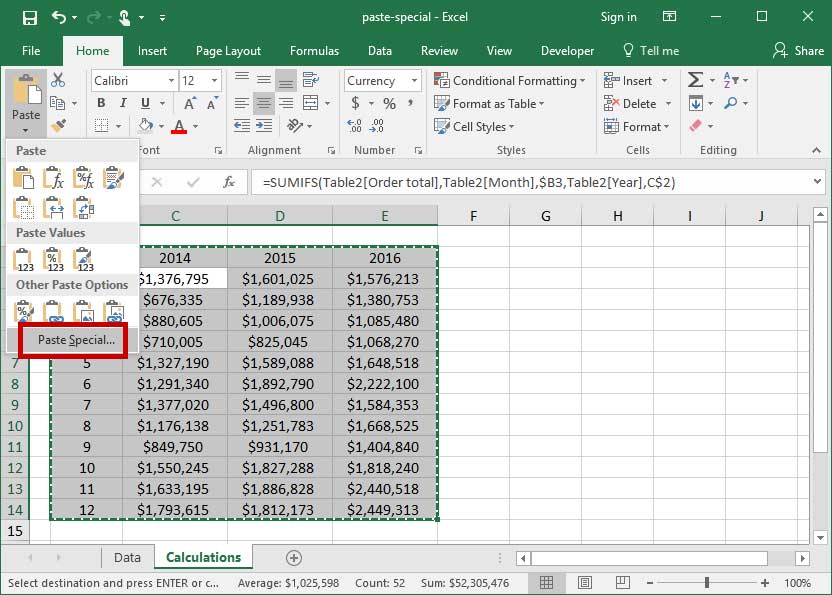
When we hit the Paste Special option, a new dialogue appears on which we can tell Excel exactly what about our source data we want to paste. In this case, we'll choose the "Values" option, because we don't want to carry over any formulas — just the values that those formulas output.
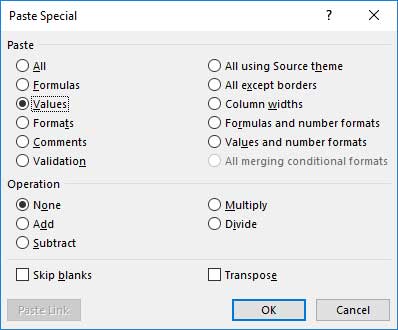
When we press OK, the Paste Special is completed. Note that when we scroll over the cells in our worksheet, they no longer contain formulas — just the raw numerical outputs that we pasted in over our old data:
Pasting formats
Here's another example of when Paste Special can come in handy. In the following spreadsheet, we've formatted the first column of a data table with a beautiful header row format. But, the remaining columns still look pretty primitive:
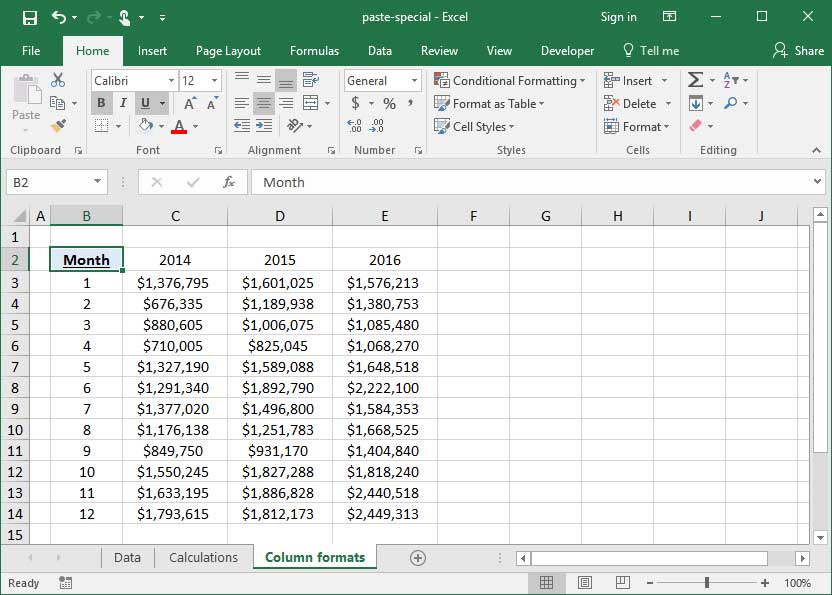
Let's copy that first header cell, select the remainder of the header row, and then head to the Paste Special menu:
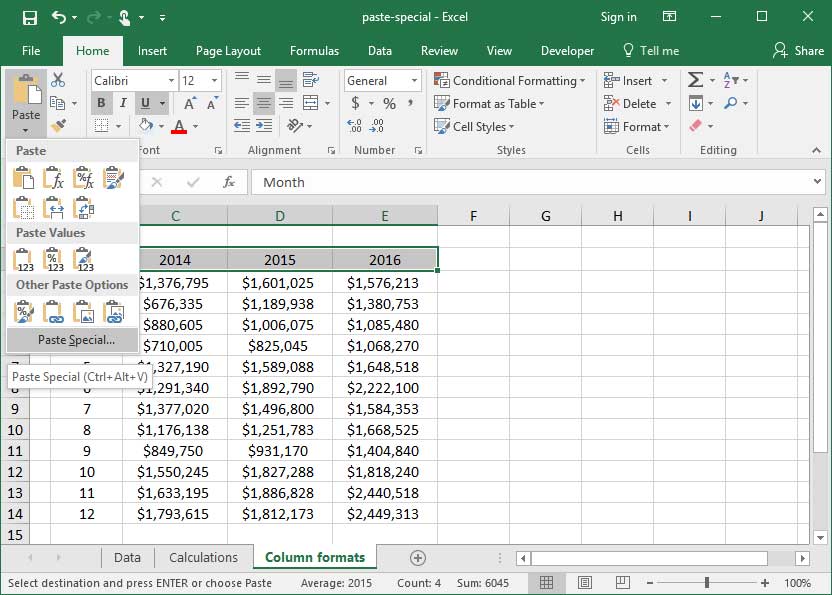
On this menu, we'll select
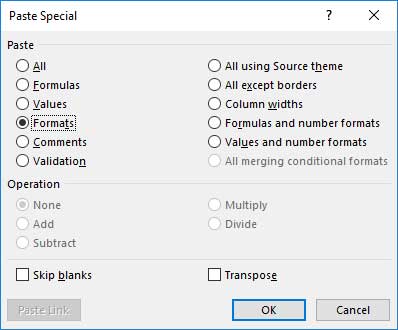
Like magic, the rest of our header row is updated with the beautiful formatting of our first cell. And the values of our headers remain unchanged!
Transposing rows and columns
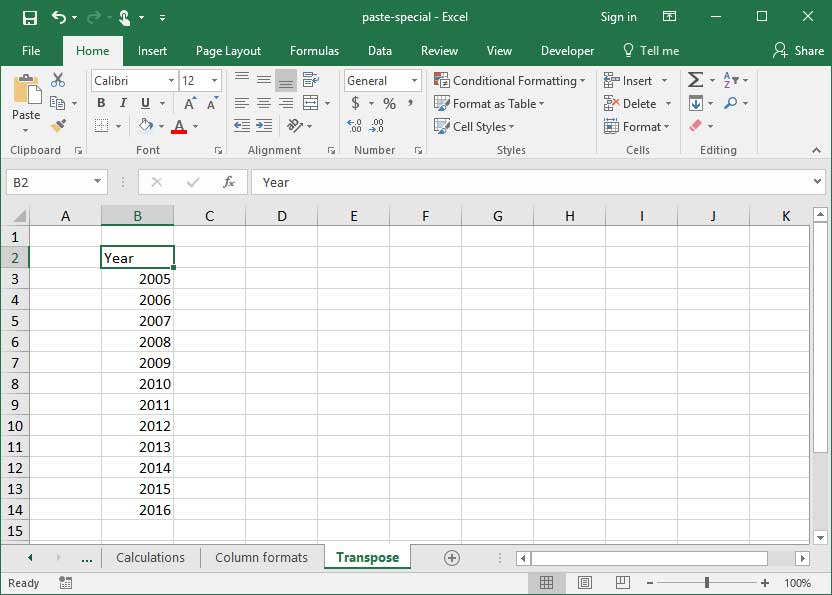
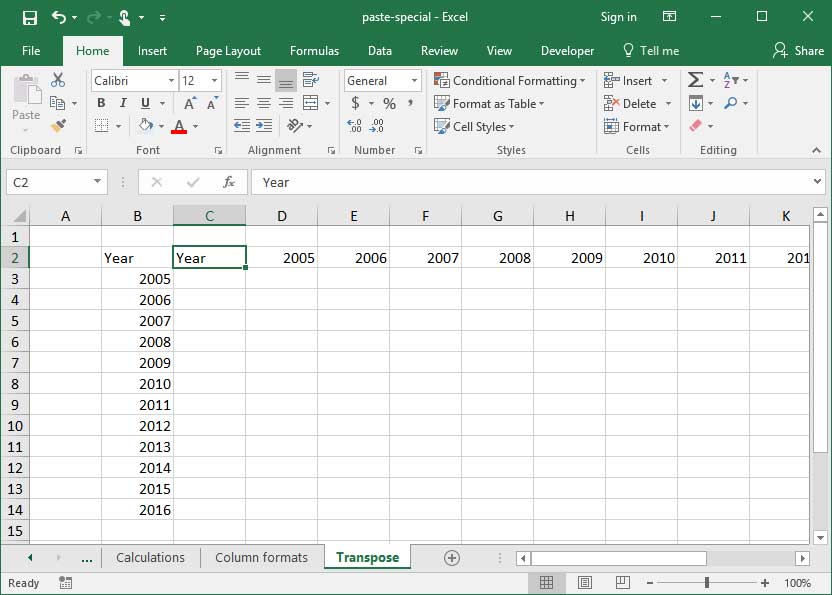
Here's one more handy Paste Special trick: we can use this feature to transpose rows and columns quickly and easily. Check it out: we entered the following column of data vertically, but after thinking a bit more about the layout of our spreadsheet, we've decided that it'd be better oriented horizontally:
Rather than re-typing the entire column into one row, we can simply copy it and head to the Paste Special menu:
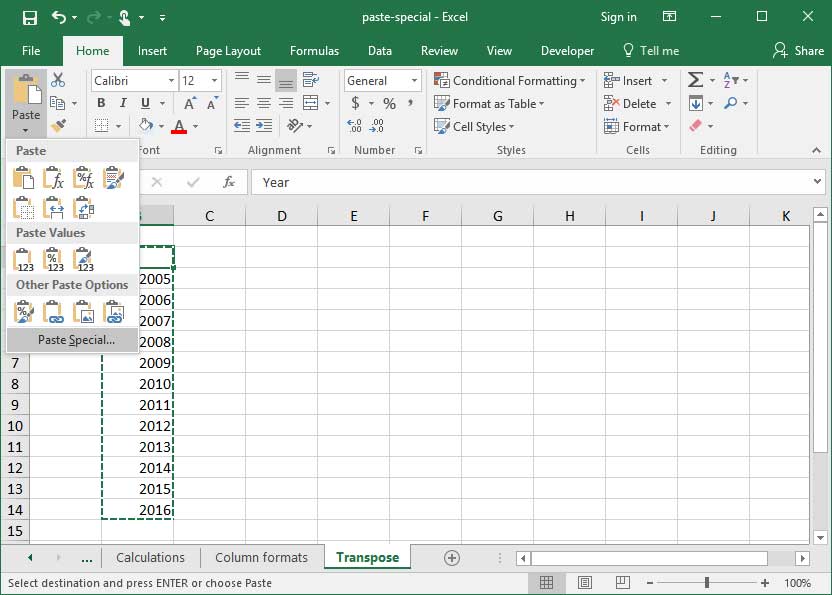
There, we'll check the
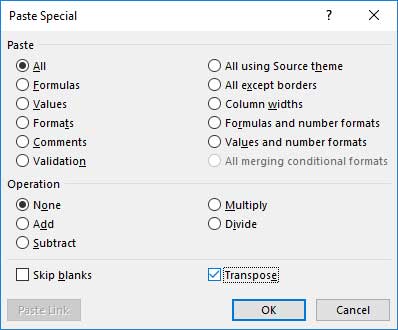
We'll press OK and check out our new, pasted data (be sure not to paste over the old data range, or the Transpose feature won't work!). It's now oriented horizontally rather than vertically — with minimal effort invested on our part!
We use Transpose when we want to re-orient and re-design spreadsheets without having to resort to manual data re-entry. It's an incredibly handy feature that invariably comes up once in a while when designing spreadsheets — so be sure to keep it in the back of your pocket!
Save an hour of work a day with these 5 advanced Excel tricks
Work smarter, not harder. Sign up for our 5-day mini-course to receive must-learn lessons on getting Excel to do your work for you.
- How to create beautiful table formatting instantly...
- Why to rethink the way you do VLOOKUPs...
- Plus, we'll reveal why you shouldn't use PivotTables and what to use instead...